Iterm2 & Zsh
Contents
Iterm2 & Zsh#
Author: Fu Yin
Update: July 25, 2022
Reading: 10 min
My terminal configuration in Mac.
Requirements:
Preview:
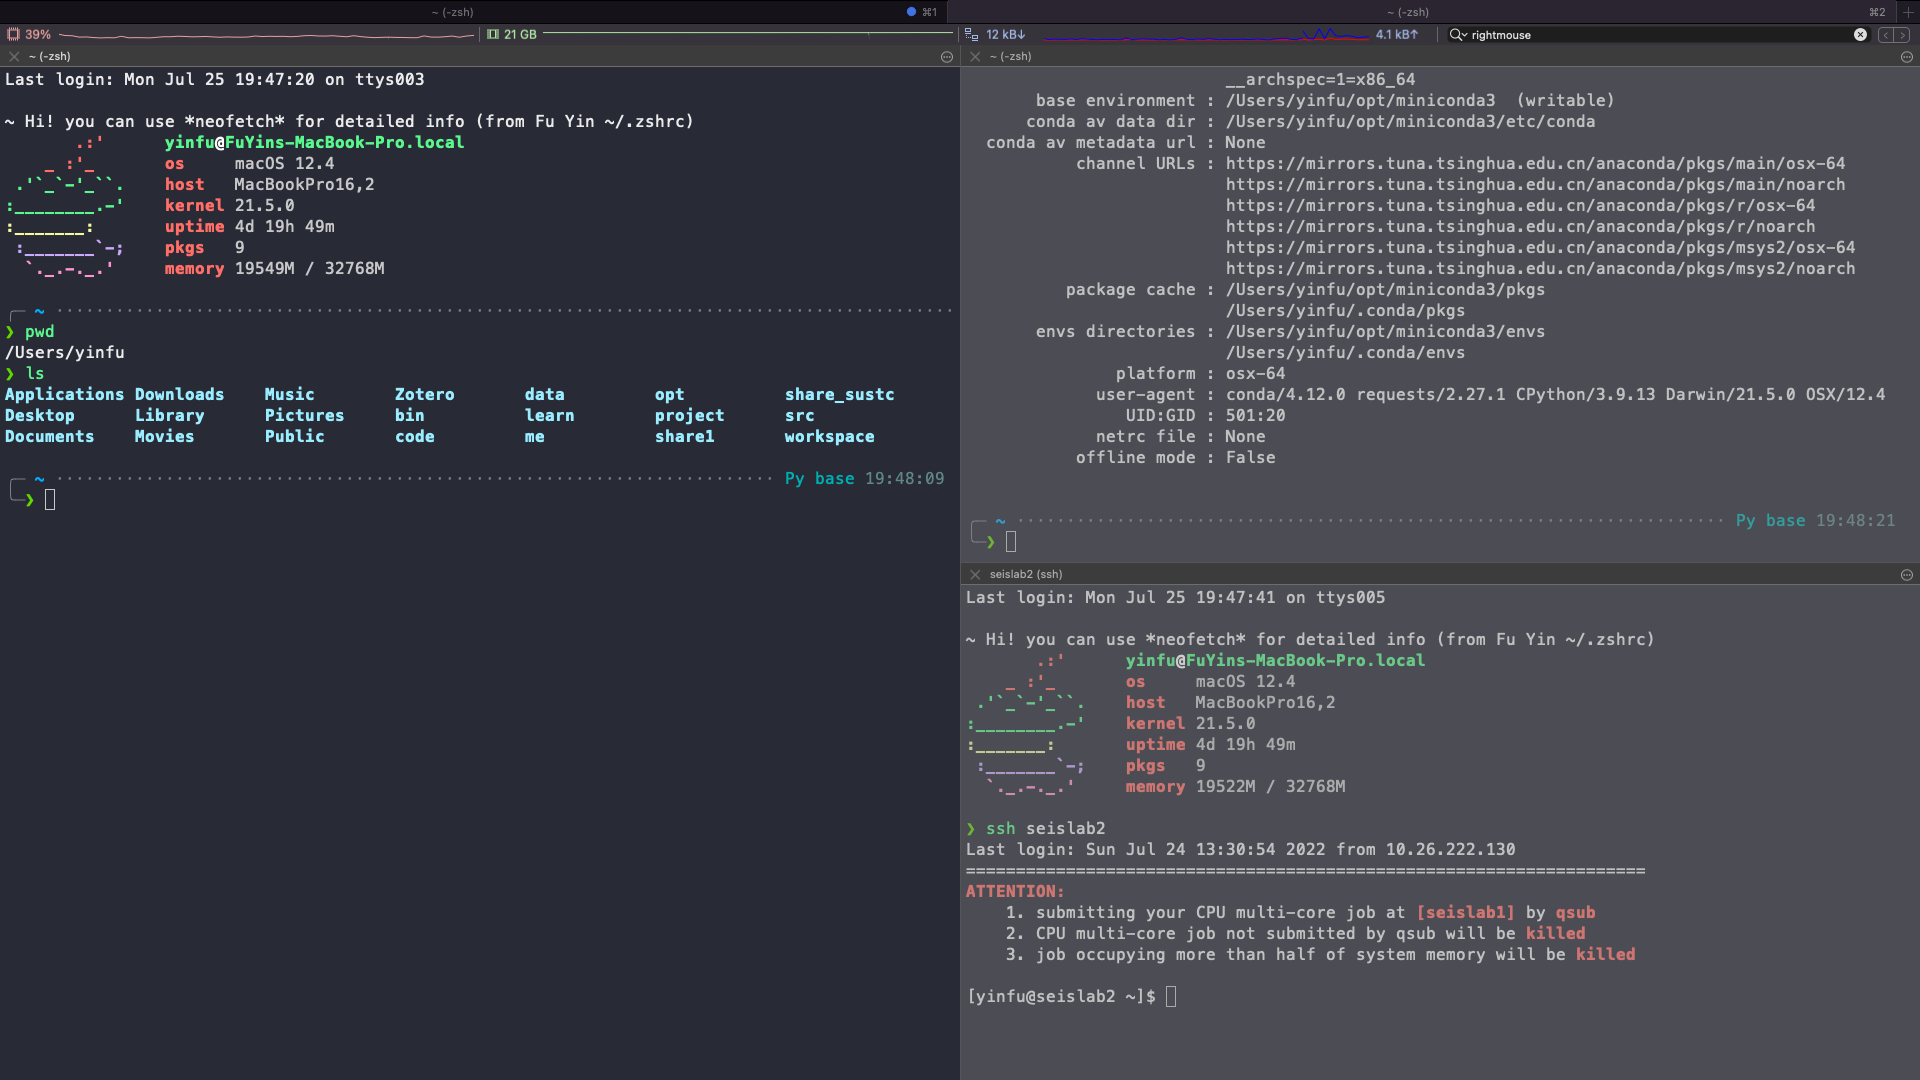
Fig. 2 Terminal preview#
My ~/.zshrc file
#------------------------------------------#
#-------- >>> 1. OhMyZsh & p10k >>> -------#
#------------------------------------------#
echo "\n~ Hi! you can use *neofetch* for detailed info (from ~/.zshrc)"

# [1].enable Powerlevel10k instant prompt
if [[ -r "${XDG_CACHE_HOME:-$HOME/.cache}/p10k-instant-prompt-${(%):-%n}.zsh" ]]; then
  source "${XDG_CACHE_HOME:-$HOME/.cache}/p10k-instant-prompt-${(%):-%n}.zsh"
fi


# [2].source '.bash_profile' if you also use 'bash' (activate environment variable)
# source ~/.bash_profile
# source ~/.bashrc


# [3].use p10k theme and set 'POWERLEVEL9K_INSTANT_PROMPT=off'.
# To customize prompt, run `p10k configure` or edit '~/.p10k.zsh'
[[ ! -f ~/.p10k.zsh ]] || source ~/.p10k.zsh
typeset -g POWERLEVEL9K_INSTANT_PROMPT=off


# [4].set font
POWERLEVEL9K_MODE="nerdfont-complete"


# [5].path to your oh-my-zsh installation and zsh's theme.
export ZSH="$HOME/.oh-my-zsh"
ZSH_THEME="powerlevel10k/powerlevel10k"
source ~/.oh-my-zsh/custom/themes/powerlevel10k/powerlevel10k.zsh-theme


# [6].which plugins would you like to load?
plugins=(
    git
    extract
    autojump
    zsh-autosuggestions
    zsh-syntax-highlighting
    poetry
)
source $ZSH/oh-my-zsh.sh


# [7].use colors
alias lc='colorls -lA --sd'


#------------------------------------------#
#--------- >>> 2. Software  >>> -----------#
#------------------------------------------#

# >>> homebrew >>>
export PATH=/opt/homebrew/bin:$PATH
# export HOMEBREW_NO_INSTALL_CLEANUP=TRUE
# export HOMEBREW_BOTTLE_DOMAIN=https://mirrors.ustc.edu.cn/homebrew-bottles/bottles
# <<< homebrew <<<


# >>> when I install 'SAC', I import those variable >>>
#export PATH="/opt/homebrew/opt/libxml2/bin:$PATH"
#export PKG_CONFIG_PATH="/usr/local/opt/libxml2/lib/pkgconfig"
# >>> when I install 'SAC', I import those variable >>>


# >>> pfetch or neofetch >>>
# pfetch must be enable after brew, because pfetch is installed by brew
# neofetch
pfetch
# <<< pfetch or neofetch <<<


# >>> yinfu_code path >>>
export PATH=/Users/yinfu/bin:${PATH}
# <<< yinfu_code path <<<


# >>> sshfs alias >>>
alias sshfs-nots='sshfs -o follow_symlinks -p 22 fy21@nots.rice.edu:/ /Users/yinfu/share1/'
alias resshfs-nots='umount -f /Users/yinfu/share1; sshfs-nots'
# the following command may be wrong sometime
# alias resshfs-nots='diskutil umountDisk /Users/yinfu/share1; sshfs-nots'
# <<< sshfs alias <<<


# >>> brew's git >>>
export GIT=/opt/homebrew/Cellar/git/2.38.1
export PATH=$GIT/bin:$PATH
# <<< brew's git <<<


# >>> conda >>>
# !! Contents within this block are managed by 'conda init' !!
__conda_setup="$('/Users/yinfu/miniconda3/bin/conda' 'shell.zsh' 'hook' 2> /dev/null)"
if [ $? -eq 0 ]; then
    eval "$__conda_setup"
else
    if [ -f "/Users/yinfu/miniconda3/etc/profile.d/conda.sh" ]; then
        . "/Users/yinfu/miniconda3/etc/profile.d/conda.sh"
    else
        export PATH="/Users/yinfu/miniconda3/bin:$PATH"
    fi
fi
unset __conda_setup
# <<< conda <<<


# >>> sac >>>
export SACHOME=/usr/local/sac
export SACAUX=${SACHOME}/aux
export PATH=${SACHOME}/bin:${PATH}

export SAC_DISPLAY_COPYRIGHT=1
export SAC_PPK_LARGE_CROSSHAIRS=1
export SAC_USE_DATABASE=0
# <<< sac <<<


# >>> pygmt >>>
export GMT_DATADIR=/Users/yinfu/data/GMTDB/
# <<< pygmt <<<


# >>> poetry >>>
export PATH="/Users/yinfu/.local/bin:$PATH"
# <<< poetry <<<


# >>> VSCode >>>
vscode () { VSCODE_CWD="$PWD" open -n -b "com.microsoft.VSCode" --args $* ;}
# <<< VSCode <<<


# >>> gem >>>
export GEM_HOME=$HOME/gems
export PATH=$HOME/gems/bin:$PATH
# <<< gem <<<


# >>> julia >>>
export PATH=/Users/yinfu/.local/bin:$PATH
# <<< julia <<<


# >>> Globus >>>
if type globus > /dev/null 2>&1; then
    eval "$(globus --zsh-completer)"
fi
# <<< Globus <<<


# >>> brew's gcc (GNU) >>>
alias gcc='gcc-12'
alias g++='g++-12'
# <<< brew's gcc (GNU) <<<


# >>> specfem2d >>>
# To suppress any potential limit to the size of the Unix stack.
ulimit -S -s unlimited

# bin
export PATH=/Users/yinfu/package/specfem2d/bin:${PATH}
# <<< specfem2d <<<


#------------------------------------------#
#--------- >>> 3. New here  >>> -----------#
#------------------------------------------#
Iterm2#
Iterm2 is a replacement for terminal in Mac.
Download
Iterm2and install it like other App. Or you can usebrew install cask iterm2.Download
Draculatheme for Iterm2.
Activating Dracula Theme!
iTerm2 > Preferences > Profiles > Colors Tab
Open the Color Presets… drop-down in the bottom right corner
Select Import… from the list
Select the Dracula.itermcolors file
Select the Dracula from Color Presets…
Zsh#
Type Zsh --version in terminal. If the Zsh version is displayed, then Zsh is installed. Otherwise, you need to install Zsh.
brew install zsh
Run the following command to set the default Shell to Zsh:
chsh -s $(which zsh)
Note
Since macOS Catalina (10.15), the default Shell of macOS has changed from Bash to Zsh.
The configuration file of Zsh is
~/.zshrc, and of Bash is~/.bashrc.
Oh-My-Zsh#
Oh My Zsh is an open source, community-driven framework for managing your zsh configuration.
# install
sh -c "$(curl -fsSL https://raw.githubusercontent.com/robbyrussell/oh-my-zsh/master/tools/install.sh)"
This command will create the ~/.oh-my-zsh directory, downloads oh my zsh to this directory, and generates the default Zsh configuration file ~/.zshrc. The backup of the old configuration will be moved to a file like ~/.zshrc.pre-oh-my-zsh.
set theme#
To use a different theme, modify the ZSH_THEME variable in the ~/.zshrc configuration file.
For example, I use Powerlevel10k theme.
# install
git clone --depth=1 https://github.com/romkatv/powerlevel10k.git ${ZSH_CUSTOM:-~/.oh-my-zsh/custom}/themes/powerlevel10k

# then open `~/.zshrc` and set `ZSH_THEME`:
ZSH_THEME="powerlevel10k/powerlevel10k
Run the following command to start the automatic configuration process:
p10k configure
After executing the command, p10k is initialized: ~/.p10k.zsh is generated in the root directory, and some code will be written at the bottom of ~/.zshrc as following:
# To customize prompt, run `p10k configure` or edit ~/.p10k.zsh.
[[ ! -f ~/.p10k.zsh ]] || source ~/.p10k.zsh
To disable the p10k configuration, you only need to delete ~/.p10k.zsh file and the preceding code.
download font#
Nerd Fonts is a project that patches developer targeted fonts with a high number of glyphs (icons). You can use brew to install, but it’s too large. So you can just download serveal file as following: open https://github.com/ryanoasis/nerd-fonts/releases, and find
Hack.zipin Assets part.Double click to install those
ttffile in your Mac, or you can download here. And set the font option in~/.zshrcas following.
POWERLEVEL9K_MODE="nerdfont-complete"
add plugin#
Download different plugins to ~/.oh-my-zsh/plugins directory, and modify the plugins variable in the ~/.zshrc configuration file as following:
plugins=(
    git
    extract
    autojump
    zsh-autosuggestions
    zsh-syntax-highlighting
)
extract: use the
x abc.zipsyntax to decompress almost all compressed files, such as.tar.gz,.tar.bz2,.zip,.7z,.rar.autojump: a faster way to navigate your filesystem. Jump to a directory that contains
foo. Before enabling autojump, install firstly:
j foo
# download 'autojump' to '/.oh-my-zsh/custom'
git clone git://github.com/wting/autojump.git $ZSH_CUSTOM/plugins/autojump

# go to 'autojump' folder
cd $ZSH_CUSTOM/plugins/autojump

# python install.py:
./install.py
brew install autojump
zsh-autosuggestions: command auto-complete plug-in, when you enter several letters of a command, it will automatically complete the command according to the historical input.
git clone https://github.com/zsh-users/zsh-autosuggestions ~/.oh-my-zsh/custom/plugins/zsh-autosuggestions
zsh-syntax-highlighting: highlight available Zsh commands.
git clone https://github.com/zsh-users/zsh-syntax-highlighting.git ~/.oh-my-zsh/custom/plugins/zsh-syntax-highlighting

# This plug-in needs to be the last bit in the list of plug-ins in the configuration file ~/.zshrc
plugins=([plugins...] zsh-syntax-highlighting)
colorls: File directory beautification plug-in
# install
gem install colorls

# set alias in ~/.zshrc file
alias lc='colorls -lA --sd'

# use
lc
Terminal in VSCode#
VSCode terminal can comes with a consistent interface, that just simply sets the font in VSCode setting as:
# set in vscode setting
terminal font = MesloLGS NF
Tmux#
working…